What is JIRA and why do you need to learn it?

JIRA is the name of the issue tracking software we use in our projects. We create accounts in JIRA for our clients to allow them to add and track issues in the testing phase of our projects.
JIRA is a transparent and effective tool for communicating. It allows us to keep track and organize the work and there is a trace of the details regarding issues (no need to search through emails to find context).
We set up our clients up with their own JIRA boards and make things as easy so the software is not overwhelming and it is pretty easy to learn. That being said please read on and learn the basics of JIRA communication to make the testing phase as effective as possible.
How to get started?
You will receive and email invitation from Atlassian to set up your JIRA account. Once you have set up your account and log in you will see your project board listed in the dropdown menu for the "Projects" item on the main menu. Click on the project to view your board. From here you will be able to submit, track issues that come up during testing..png)
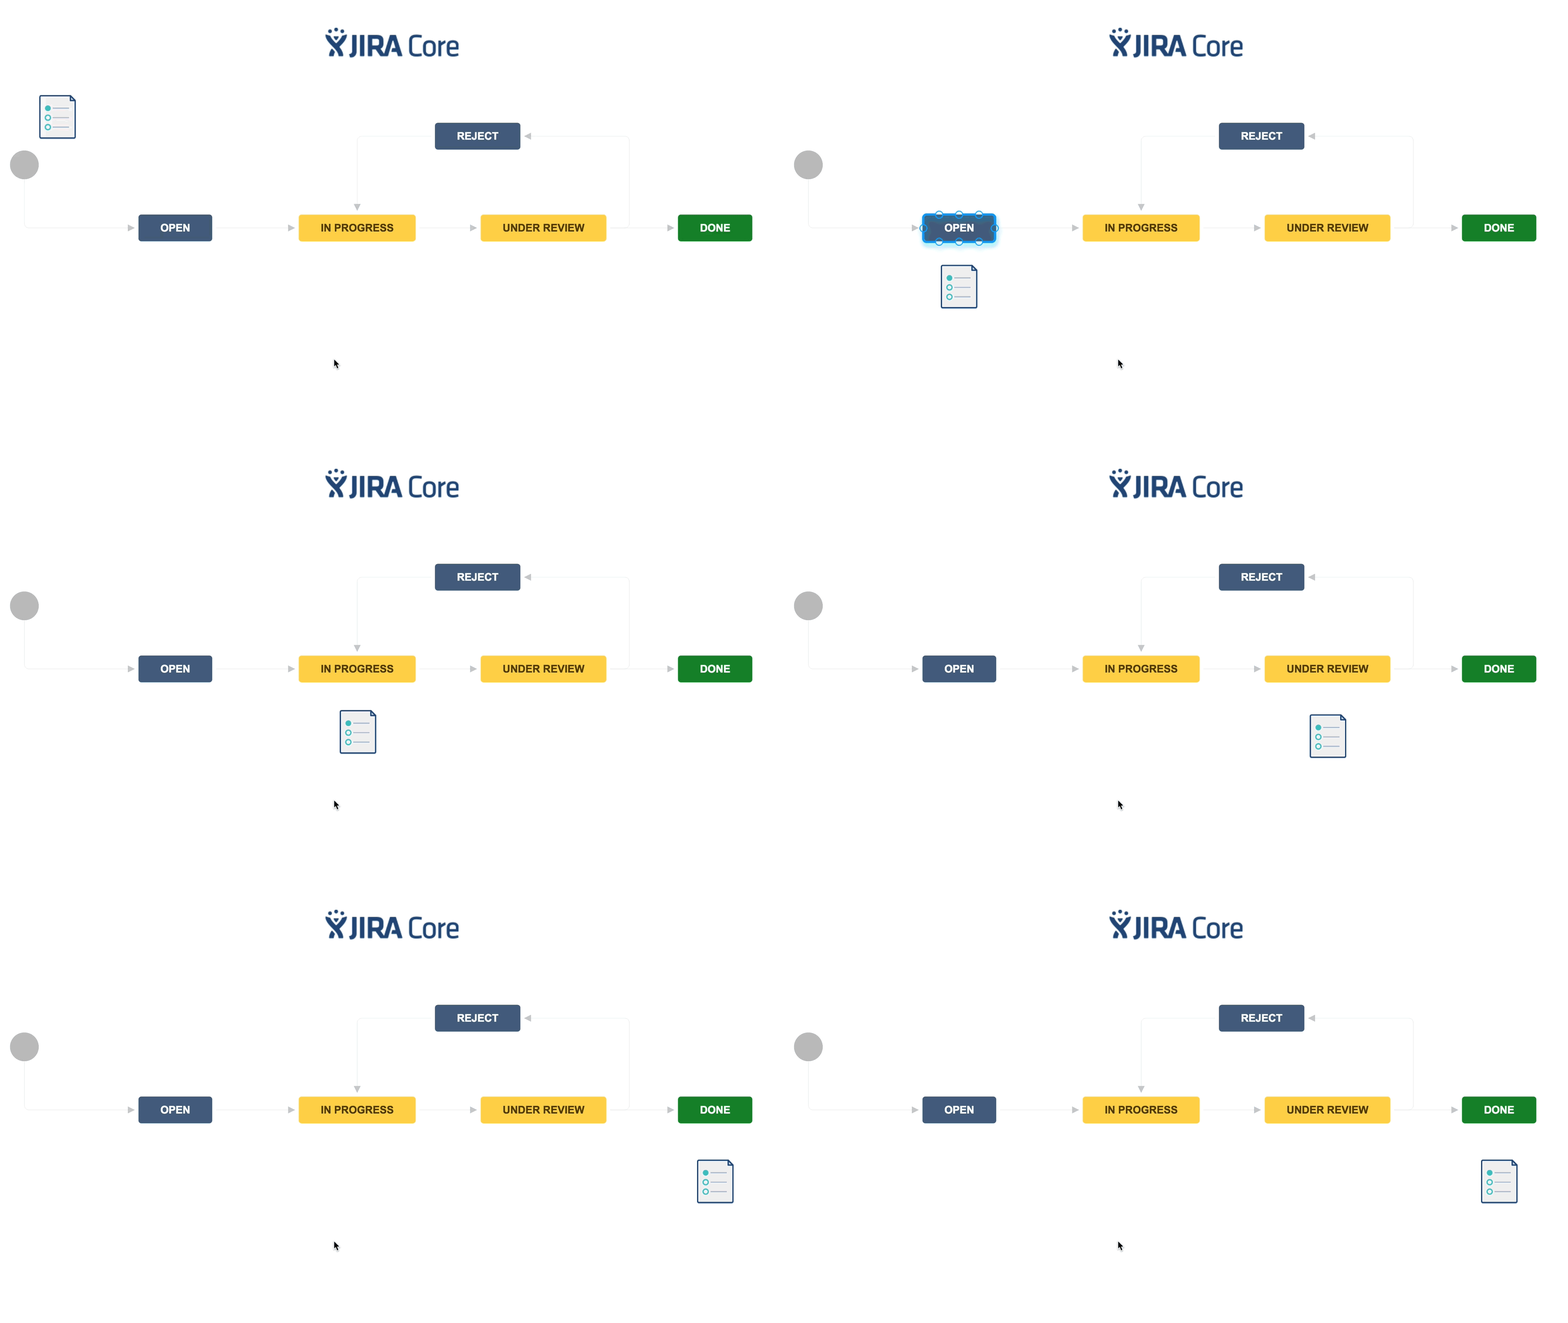
The board is arranged into the following columns: Backlog, Selected for Development, In Progress, Review, Done (Columns may vary project to project).
By default, all new issues get added to the "backlog" or "To Do" column. From there we go through them and when we have approved them for development, we move them into the “Selected Development” column and assign them to a team member.
It is important that issues are added to JIRA as soon as they come up so that they can be resolved within the testing timeframe. You can track the progress of individual issues by seeing them move from column to column and directly communicating back and forth issue details within the comments section. You can use the @ symbol to directly send a message to a member of our team within the project description or comments section.
For clarity, we ask that our clients do not move issues themselves unless it is to the “done” column once an issue has been completed. Communication also works best if one member of your team has access so they can be the point of contact. This reduces confusion or redundancy.
How to Create Issues?
To create a new issue:- Click on the "create" button in the top menu OR where it says "+ Create Issue" in the first column of the JIRA board.
- Once you have clicked to create an issue, name the issue in the "summary". Please note: the summary is just the title of the issue. Please dont add a lot of text of use this field to add the description of the issue.
- Click create
- The issue will then be added to the bottom of first column on the board. If you clicked the "+ Create Issue" button you may need to click the button again and press enter to see the issue you just created. Once you see the issue on the board, click into it and add a description in the "Description" editor that appears below the title.
How to Communicate your Issues?
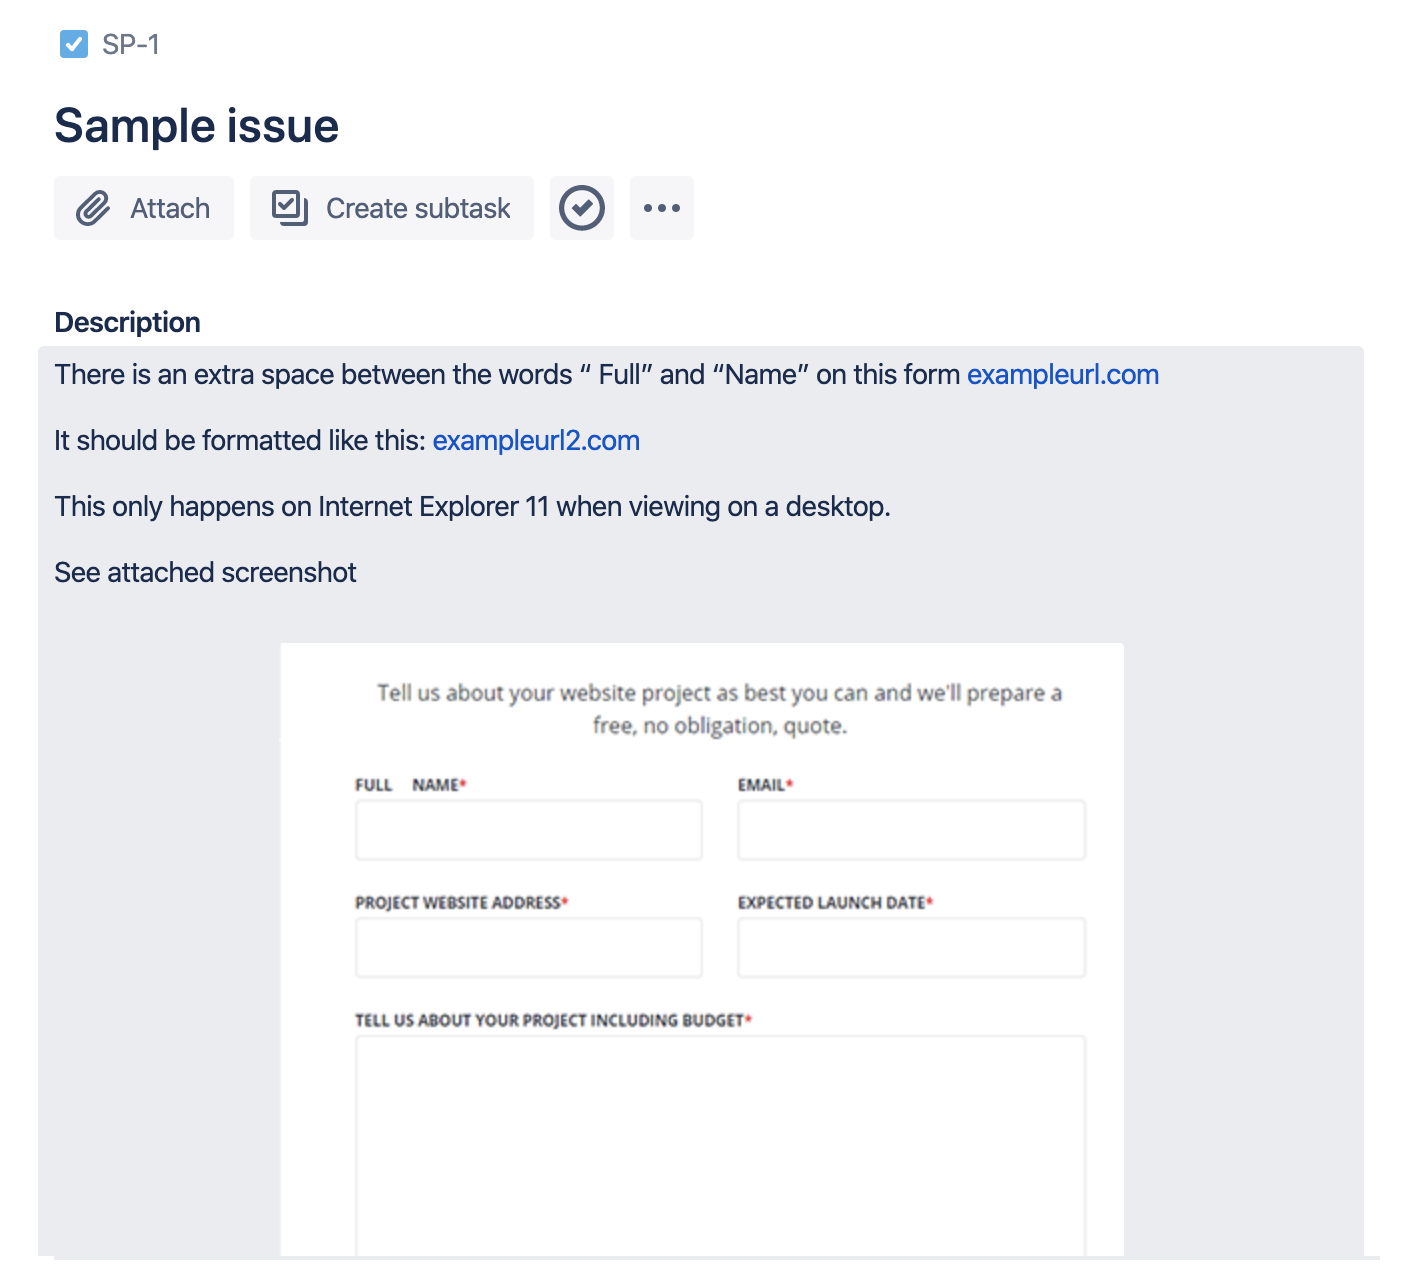
What information is important when submitting an issue:The more detailed you are when describing your issue, the faster it will get selected for development. Be sure identify the steps to recreate the issue. Include an example or description of expected behaviour. Links to pages in question, screenshots and video are excellent tools to use when submitting an issue. Also including your browser information, operating system and what device you were using can help us get a clear idea of what steps needed to be taken to troubleshoot and resolve.
Here is an example of a well documented issue in JIRA:
.png)
In Conclusion
The testing phase is extremely important. Taking the time to understand what to communicate and how to do it can save valuable time and ensure that your launch goes smoothly. Happy testing!

Alex
Senior Project Manager
Alex Treen is the Senior Project Manager at Inorbital, a Canadian web design and development agency specializing in member-based solutions. Alex oversees project lifecycles, ensuring timely and budget-conscious delivery of dynamic websites for a diverse clientele. He has over 10 years of experience managing digital projects with a background in Psychology and Web Design.

